|
RESTORING AN ICON
Rusty parts to racing car
Part 3 - Making progress |
While the chunks of aluminium were being prepared and joined together to create the DFV engine for the car, a start was made on the chassis. As recorded earlier, the car's final appearance had ended up against the Stirlings Bend armco at Brands Hatch. The nose of the car was smashed (fortunately, we had two and the broken one was not the Austrian Grand Prix nose) and a sizeable dent was put in the side of the chassis just behind the front suspension. My first task was to remove the red paint that had been on the chassis for forty-three years.
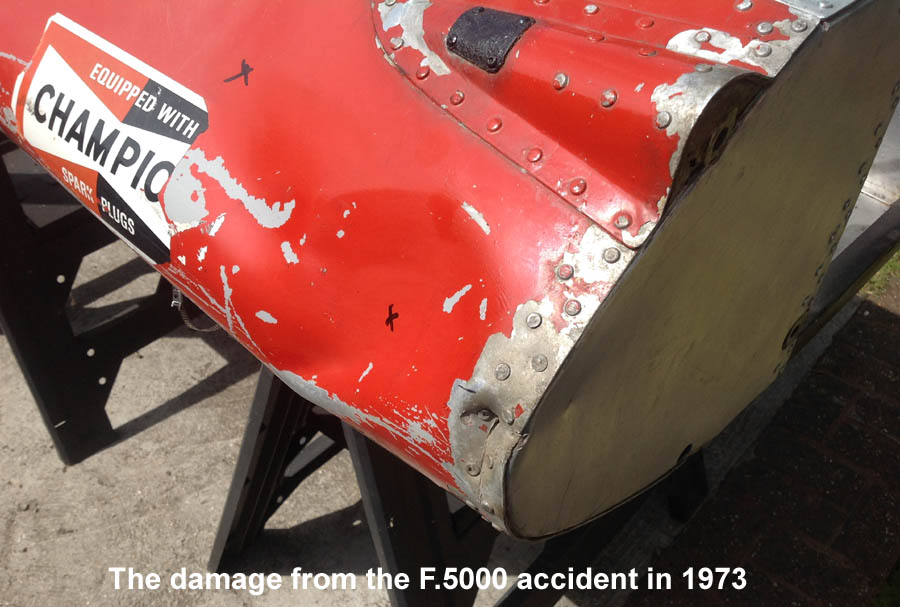 That in itself was a long job because there was a special coating under the red paint which always has to be applied if the surface to be painted is aluminium. However, eventually it was all removed and we could see exactly what was required to restore the chassis to a reasonable state.
When the car was prepared for F.5000 racing, a rectangular hole had been cut in the flat top surface of the chassis and coincidentally this was in exactly the right place to allow us to get at the dent from the inside. Initially, as we knew that we were dealing with aluminium, we assumed that we would be able to 'knock out' the dent and with a little addition of body filler, the 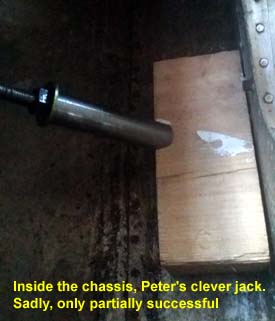 chassis would be as good as new. Wrong! Time had hardened the aluminium and its flexibility had all but disappeared. Hammers simply bounced off and made little or no impression on our dent. The ever-resourceful Mr. Connew devised a contraption that would enable us to exert a continuous force on the dent from the inside and hopefully, push it back into somewhere near the correct position.
Whilst Peter's jack was a great improvement on what we had achieved so far, eventually no amount of pressue exerted by the jack made any more difference to the outside surface of the chassis and so the filling began. Peter left that process to me as he had plenty of other things to do and I know that I really should have worn a mask and I did, for some of the time. It was simply a case of add some filler, rub it down, look for dips and bumps, fill some more, rub some more, etc etc etc. The front face of the chassis also obtained a crease in the Brands accident and it was this crease that had pulled one of the mounting points of the front sub frame slightly out of line and filling and hiding the crease wouldn't realign it. I can't recall how Peter overcame that problem, but he did, somehow.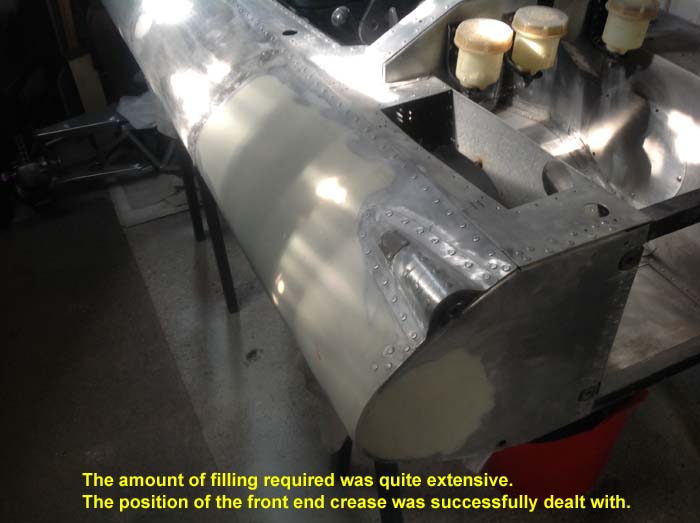
Back in 1971 when I made the cockpit canopy of the car, we were very happy with the shape of it at the driver's shoulders end. Early photos show that the first time Francois Migault drove the car, at Le Mans in July 1972, the 'sloping' canopy was on the car. Even before he drove the car Francois had told us that it was rather uncomfortable around his shoulders and asked if there was anything we could do about it. The canopy was initially made in wood. A fibreglass mold was taken off the wooden one and the actual canopy was molded from that. So, the job of changing the canopy to make it wider at the shoulder area meant modifying the wooden pattern, making a new mold and then producing another canopy from the new mold. Not a small job but it's clear from photos that we had both the canopies with us when we attempted to join the F.1 merry-go-round in France. The good news was, we still had them both in 2015.
Peter had paid a not inconsiderable sum back in 1971 to have two smoked grey perspex windscreens made. Our screen was quite large and extended right to the back of the canopy. A disaster befell us very early in the car's racing life when one screen was split in two when hanging up in the lorry that became our car transporter. The one remaining screen was still attached to the wider of the two when both canopies were unearthed from the shed. 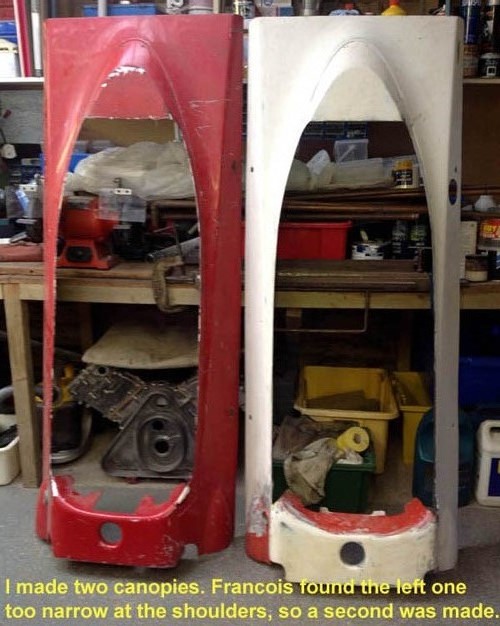 Or at least, some of it was! A large portion of the screen, at the top, was broken off and was long since lost. This presented a problem. The car couldn't possibly be presented without a screen. I made a fibreglass pattern on the inside of what remained of the original screen and then used wood to build up the top edge where the original was broken. At Brands Hatch I got the name of a company that makes screens for many historic racing cars and we took our screen pattern there. They weren't happy about my work on the top of the screen but agreed to remake that part before making us two new screens. The plan was always to have a screen on each of the canopies.
Both canopies were thoroughly rubbed down and primed ready to be painted. We received two screens from the manufacturer but because they had a problem in the manufacture of one of them and it was slightly mis-shapen at the bottom front edge, they gave us that one 'free'. The holes in the two canopies had remained from the 1970s so it was 'simply' a matter of positioning the screens on the canopies, marking through onto the perspex and then drilling and counter-sinking the holes for the screws that would hold the screen in place. Perspex is fragile and drilling so close to the bottom edge required great care, but I managed to drill all the holes successfully. That wasn't the end of the windscreen problems though, because the screen makers had to finish the back ends of the screen in an arbitrary way so I had to cut and file both ends of both screens to fit the canopies, or in some cases, modify the canopies to fit the screens. However, eventually, each screen fitted a canopy.
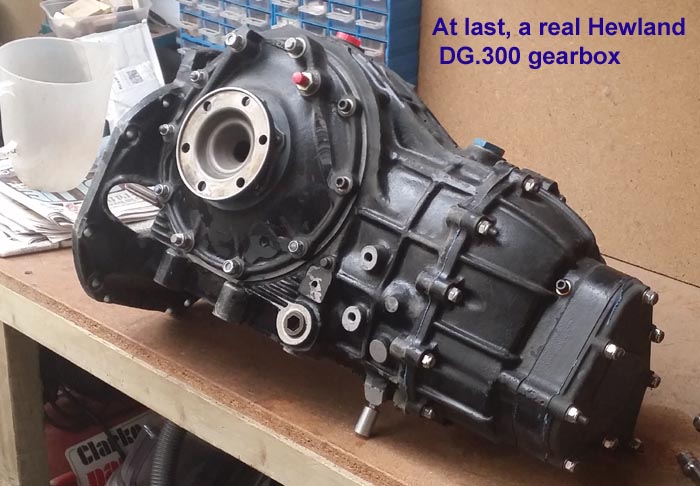
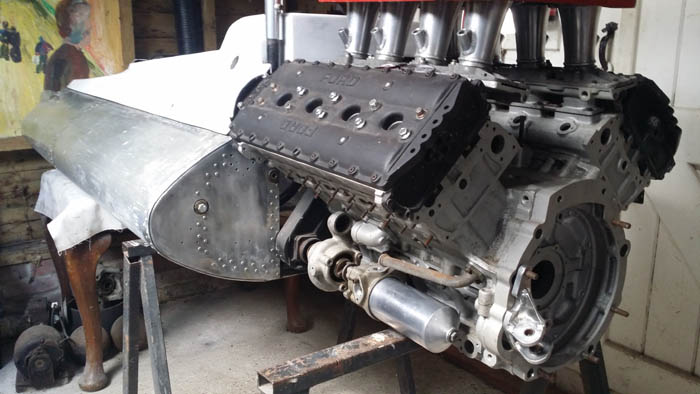 With the chassis prepared for painting it was time to attach Doug Nye's DFV to it, a very satisfying moment. Peter had located and purchased a real, working Hewland DG.300 gearbox so work could now proceed on building up the rear end of the car. Although our 'famous' fabricated rear top cross member was looking somewhat the worse for wear, in was structurally sound and another satisfying moment was seeing it bolted to the top of the gearbox, ready to accept the top wishbones, once they were cleaned up and received the same treatment that the front suspension arms had had.
When Doug Nye became the owner of his DFV engine it was lacking most of the ancilliary items that a race engine requires. 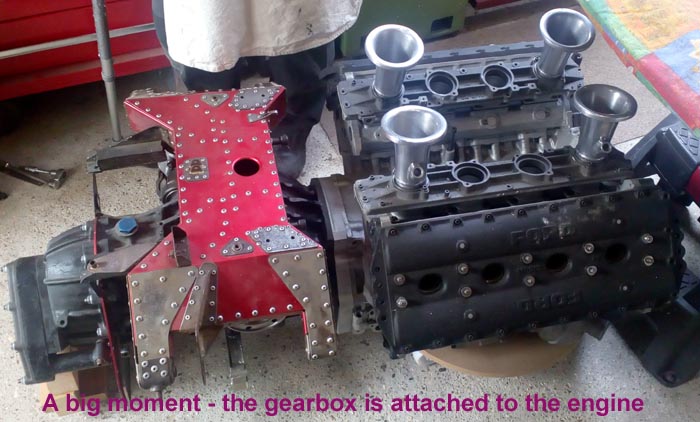 Thanks to several companies, who I mentioned in part 2, we were able to fit the engine out with most of the pumps, fuel system and electronics that a working engine would require. In some cases this involved making rubber molds from an original, then casting resin copies. Once sprayed with aluminium paint these proved to be highly believeable components and they were fitted to the engine.
The exhausts, however, were another matter. Every racing car that uses a DFV engine must have its exhaust system custom made because the suspension layout of every type of car is different, so the exhausts that fit one car will almost certainly not fit another due to the pipes having to wind their way through whatever suspension design the car has. We had this fact confirmed when we brought back from Felsted a couple of sets of DFV exhausts that were very, very kindly lent to us by Frank Lyons. 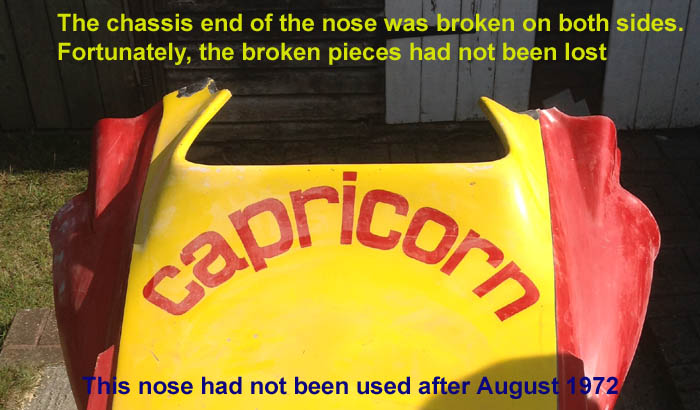 We were able to use two of Frank's pipes on each side of the engine, but not four on each side. This presented Peter with quite a problem. As this was not ever going to be a working car, the material that we used for the missing pipes was not an issue. Various ideas were tried but in the end Peter decided that to make the system of four pipes join accurately into the collector section - four into one - he would have to make the pipes up by cutting, fitting and welding pieces of tube together. That he achieved this so successfully speaks tremendously highly of his patience and skill.
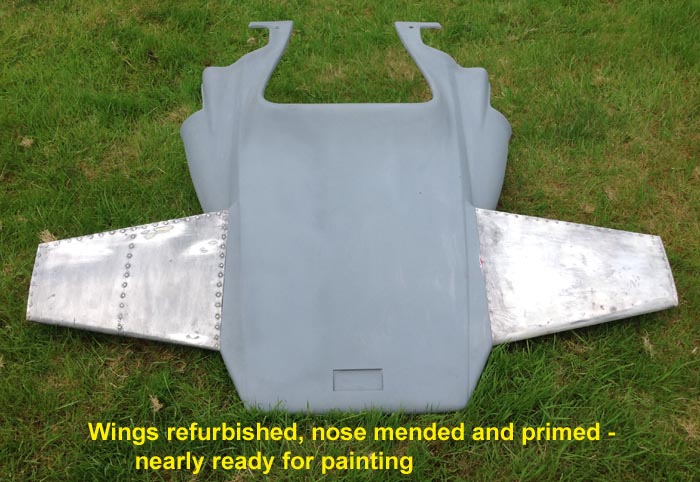
The other item that had given me immense satisfaction back in 1971 was the nose of the car. 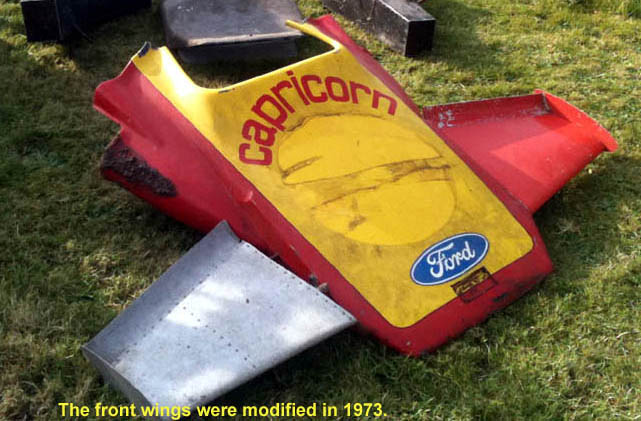 As I've said, there were two but one was destroyed in 1973. The one that remained was the nose that was on the car in Austria and when liberated from the shed, it still had its Capricorn sponsor logo clearly visible, although the two thin sections, where the nose was fitted to the chassis had been broken at some point. To our great joy, we found the two pieces and it was not a terribly difficult job to stick them back on, with fibreglass used on the underside to strengthen them. The two front wings had been modified back in 1973 but one was scrap after Brands. Peter had obviously made a replacement back then as there were two around, one painted and the other not.
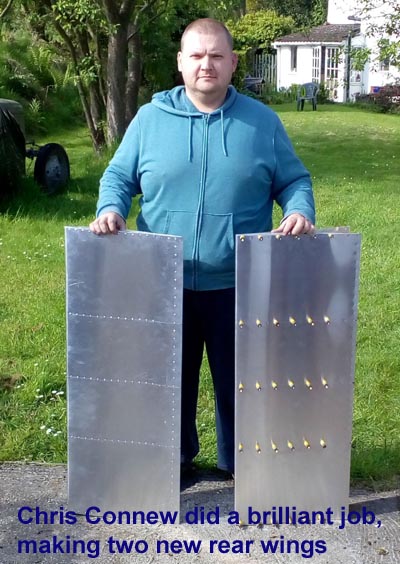
The original and only rear wing, a two-piece construction, disappeared, Peter thinks, from the paddock at Brands in 1973, so it was necessary to construct two completely new wings and the end plates that would hold them together. Although it was a team effort to make these wings, most of the credit has to go to Peter's son Christopher who toiled, basically unsupervised, to make these large items. Peter decided that fairly thin aluminium would have to be used and it turned out to be a real performance bending each sheet of aluminium round a broom handle, accurately, in order to make the wing sections. Christopher was proud to show the things off, and he had every right to be.
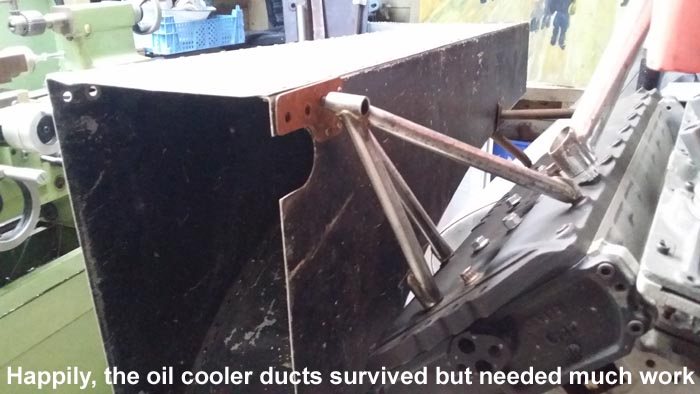
One of the car's most recognised features were the two large oil radiator air intakes that were bolted to the sides of the engine. These, too, were still around and required a fair amount of work but eventually we were able to locate the correct tubular supports from one of the boxes of assorted bits and pieces and more components were added to the puzzle.
The time was rapidly approaching when we really needed to get it all bolted together because the projected invite to the 2017 Festival of Speed had been made and accepted, so now we really were on a deadline.
Return to the racing images page or move on to the the next part of the story of the rebuild.